
Now that you’ve installed WordPress from your web host let’s take a look at the WordPress Settings in your dashboard.
The WordPress dashboard is the administration area where you create and manage your website. You’ll get to know the dashboard well! In this post we will run through the 7 different elements of the Settings tab.
In the next tutorial, we’ll cover the rest of the WordPress dashboard menu options.

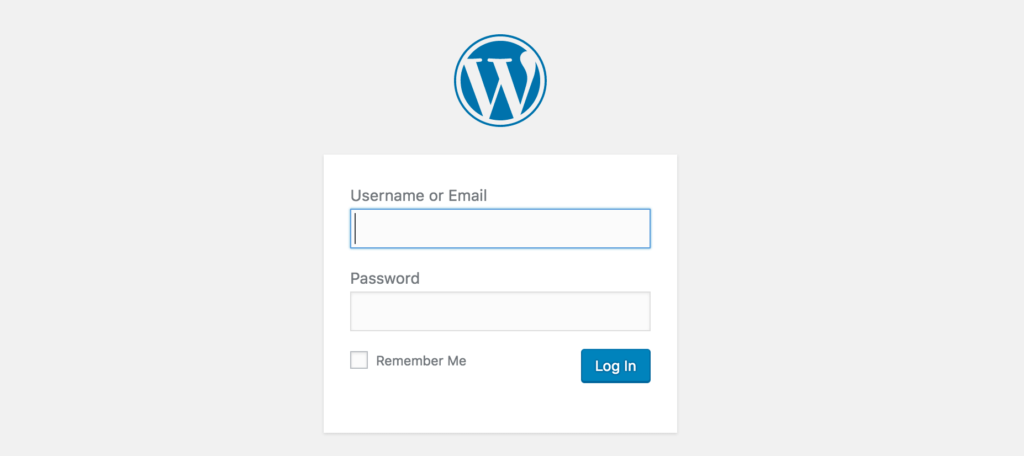
Log In
To enter the WordPress Admin dashboard of your website, go to:
www.yourwebsite.com/wp-admin
Enter the WordPress username and password that you received from your web host provider following the installation of WordPress.
See instructions for installing WordPress here.
Once you’re in, you’ll see the WordPress dashboard which should look something like this!
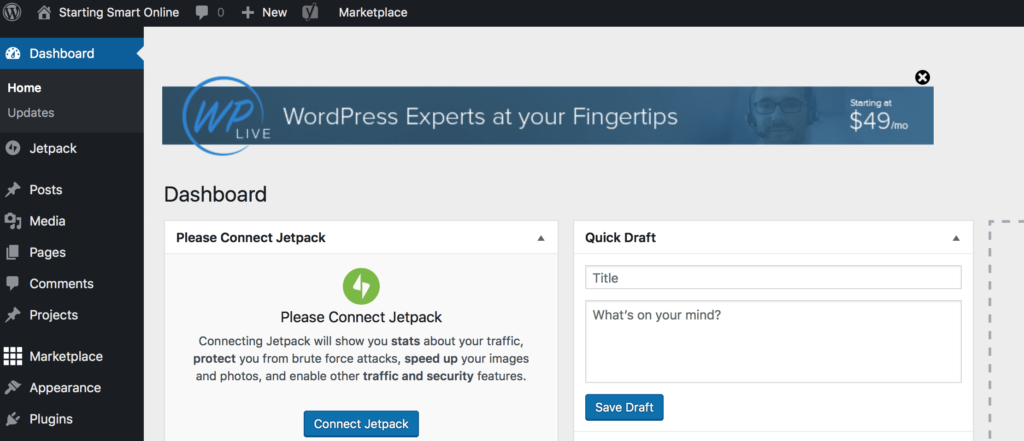
When you are logged in to your WordPress website you will always see a black bar across the top of the screen.
To enter the dashboard itself, hover over the website title in the top left hand corner and a drop down box will appear. Click on Dashboard and a black bar with menu options will be displayed along the left hand side of the screen.
You are now in the dashboard or admin area. To view the site whilst logged in, hover over the website title again and click on Visit Site.
You’ll often be alternating between the Site view and the Dashboard! Now we’ll adjust some of the settings and customize a few things and then you’ll be ready to start creating your website!
Remember to save any changes you make.
Changing Your Password
If you want to change your password, in the Dashboard, click on Users and then in the drop down menu, click on Your Profile.
Next to New Password, click on Generate Password. Type in the password you want. WordPress will allocate a rating. Need I say, Strong is best!
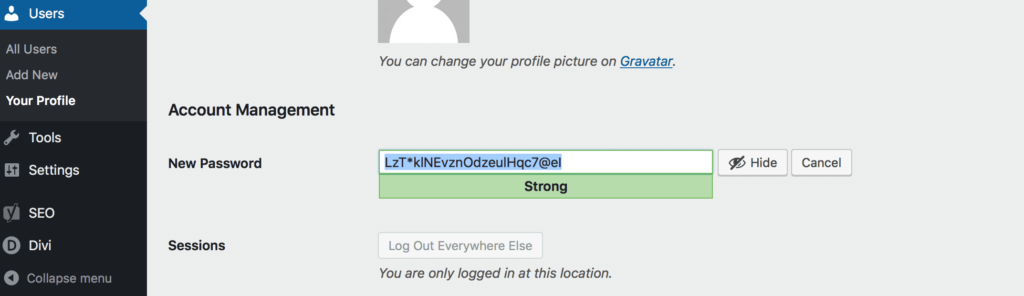
Remember to save your password and write it down!
Settings
In the dashboard, hover your mouse over Settings and a drop down menu will appear with the options General, Writing, Reading, Discussion, Media and Permalinks.
Now we’ll go through each settings tab.
General Settings
Enter your site title and tagline. Your site title is the name of your website or blog. Your tagline explains what your site is about. Write a tagline that is descriptive and stands out.
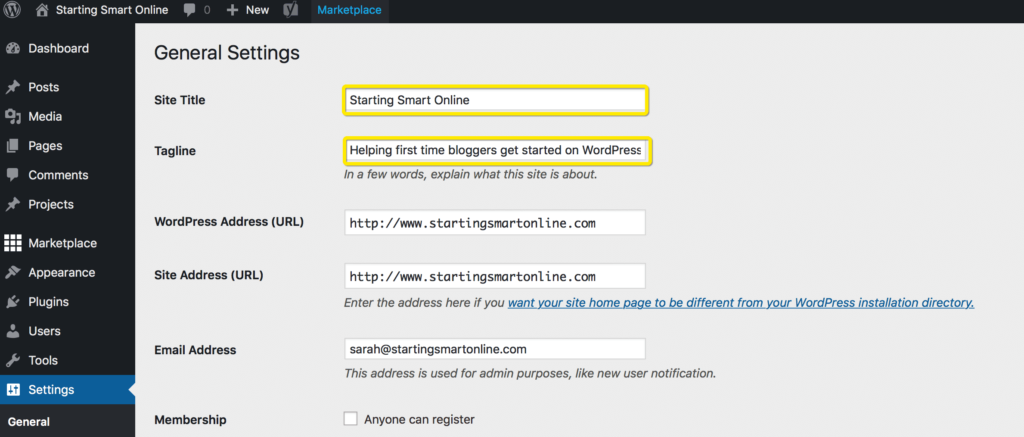
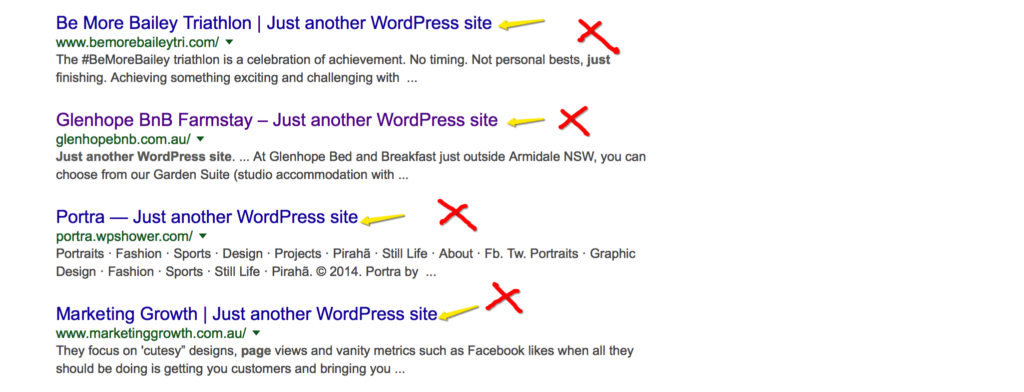
The tagline may be shown as a result of a search query on a search engine like Google so you want to use the tagline to help draw visitors to your site.
If you don’t change the tag line, search engines will use the default tagline. For example, this is what your website would look like with the default settings when returned for search results on Google.
 Now, change your time zone to reflect your location and select the date and time formats you prefer.
Writing Settings
This is where you can select your default post category and post format. First you need to create your categories and work out the post format you want. If you’re not up to that stage yet, you’ll be coming back here soon!
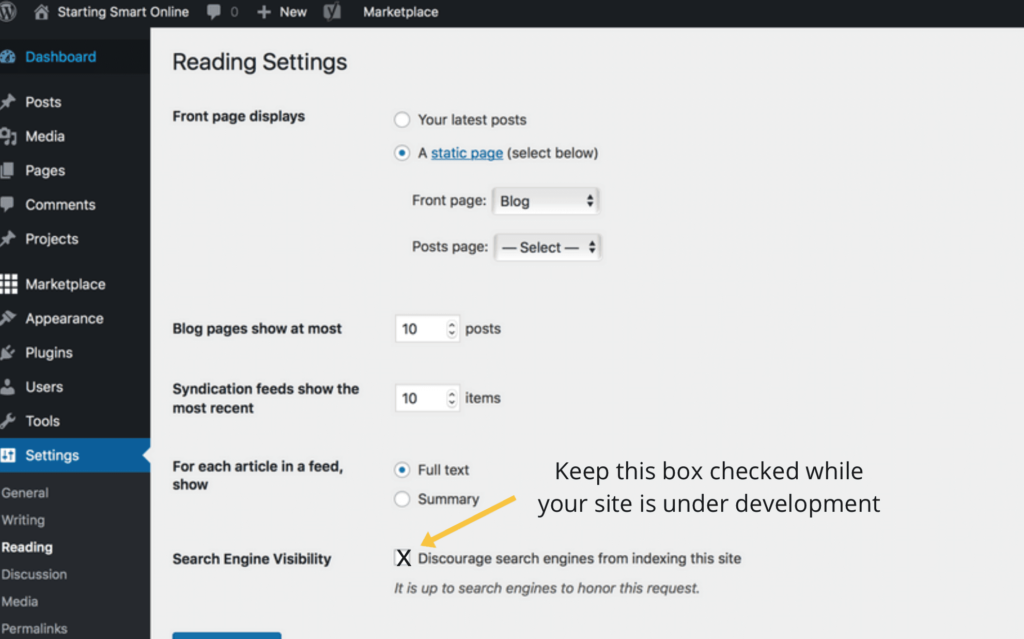
Reading Settings
The first section, Front page displays, determines what your front page will be like.
Do you want your front page to display your latest blog posts automatically? How many blog posts do you want to show? Or do you want your front page to be static?
You can also specify if you want the whole post to show or just a summary. Most blogs show a summary only.
Not to confuse you here, with the Divi theme that I will be using in the coming tutorials, you can select a static page and then add a “section” with a “blog module” that can be placed anywhere on a static page. This gives you loads of flexibility when it comes to designing your front page. More on that later.
If you haven’t created any pages yet, you won’t be able to select from the Front page drop down menu. It helps to be familiar with some of the options you have available as you’ll be back to this section soon!
Whilst your site is under development keep the Discourage search engines from indexing this site box checked.
Discussion Settings
The Discussion Settings, control how visitors and other websites interact with your website. Interactions include linking between sites and discussions in the comments section.
Default article settings
In the first section Default article settings, you can control the notifications that occur as a result of you creating a link from your website to another website and when another website creates a link to your website.
Do you want to attempt to notify a blog that you have created a link to?
Do you want to be notified that another blog has linked to you?
Unfortunately, if you link to yourself ie: your blog post links to another of your blog posts (which you will probably do a lot) you will receive a notification or a “ping” in your Comments area which can become a real pain. However, there are WordPress plugins that stop self-pingbacks.
Many blogs say they switch off this function because most of the pingbacks and trackbacks are spam.
You can also allow people to comment on new articles. Most blogs allow this as the comment section helps build communities and gain information about audiences.
Other comment settings
Choose the Other comment settings you think will be appropriate for your blog. You can always adjust these as you progress and work out what’s best for you.
Email me whenever
You can start off receiving an email when anyone posts a comment. This is very exciting stuff when you get your first comments coming in!
Over time you will probably adjust these settings as your blog grows and your free time shrinks!
Before a comment appears
If you tick Comment must be manually approved, then ALL comments must be approved. If you tick the second option, Comment author must have a previously approved comment, only new visitors will require approval. Authors who have been previously approved will not require approval.
Comment Moderation
If you have elected not to manually approve comments, you can use Comment Moderation to prevent spam or unwanted comments.
WordPress will run a series of tests depending on your stipulations and any comments that don’t pass the test will be held back for manual approval.
Comment Blacklist
Comment Blacklist is more hard core than Comment Moderation as it sends all comments that don’t meet your stipulations straight to the trash can. This risks deleting genuine comments.
Avatars
To show avatars in the comments section (the little images that appear next to a person’s name) check the box.
The Maximum Rating determines the maximum rating for a gravitar that you will allow to appear on your site. If your site were a movie what rating would you give it? I’ve given this site a PG.
WordPress also lets you choose a Default Avatar for authors that don’t have their own custom avatar.
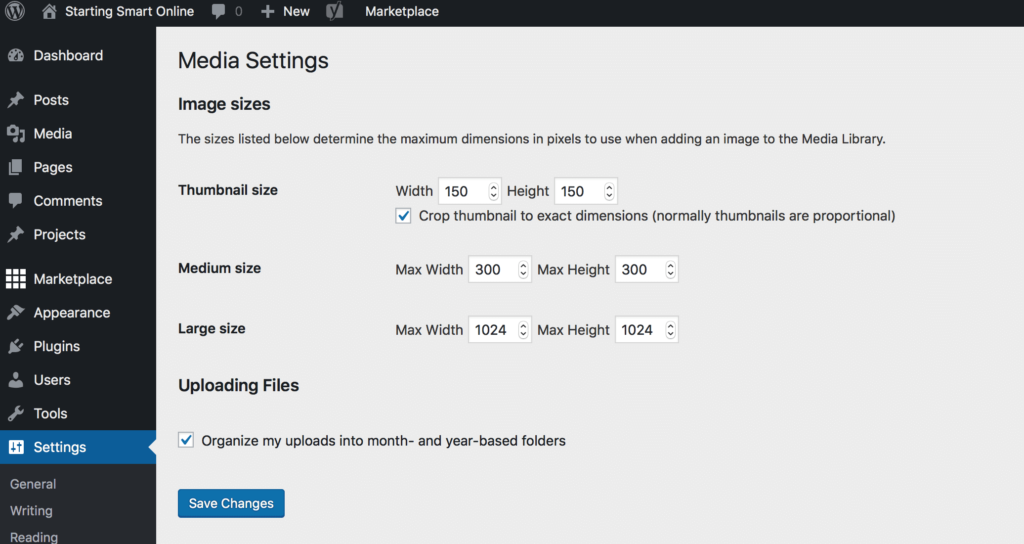
Media
You can specify the maximum dimensions in pixels when adding images to your Media Library (where all your images are stored).
Permalink Settings
A permalink is the part of the website address that links to a web page or blog post. For example, the highlighted part below is the Permalink.
www.startingsmartonline.com/getting-started-wordpress-settings
WordPress automatically defaults to a Plain permalink. If I didn’t update the Permalink settings, this post would look something like this in the URL.
www.startingsmartonline.com/?p=123
Select the option best suited for your blog. The most popular format is the Post Name format. This blog uses the Post Name format.

Awesome! Now we’ve changed your password and made it through the General Settings it’s time to take a complete tour of the WordPress dashboard.
Click on the red button below for the next tutorial.


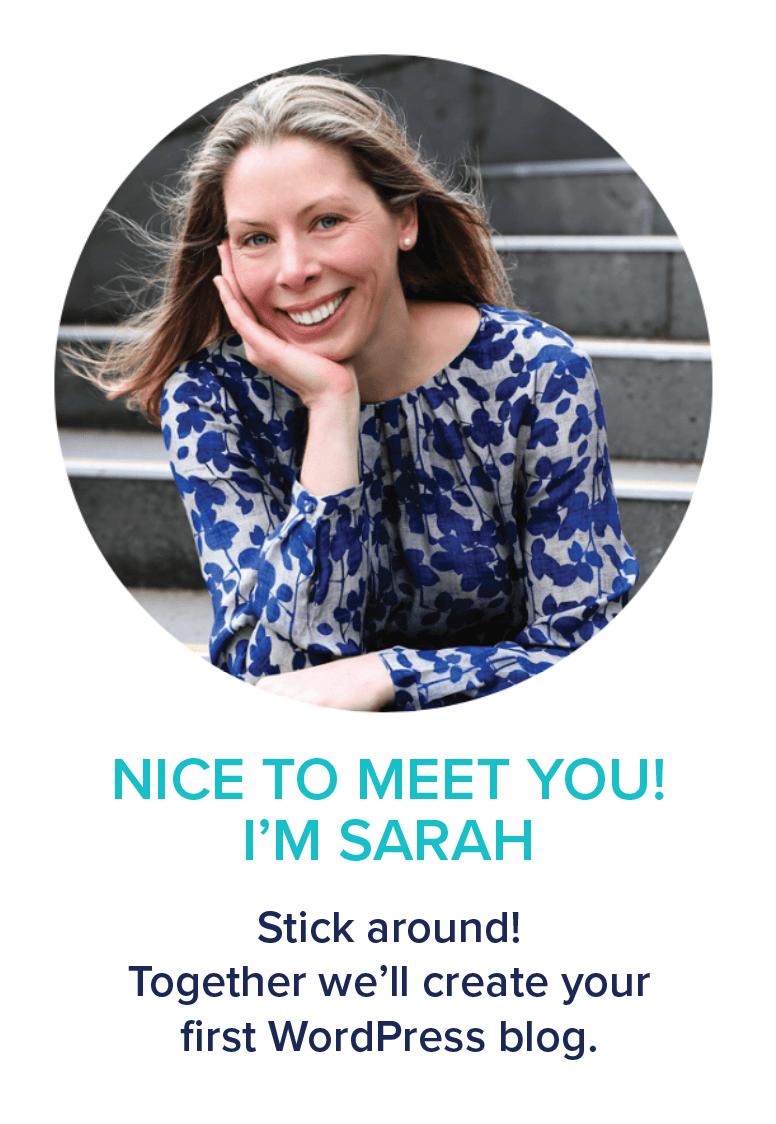
AUTHOR: SARAH PILATI
Hi, I’m Sarah! I’m here to help you create your first WordPress blog. I cover the early stages of your project – getting your website up and running! If you have any doubts you can do it yourself, this website is for you! You can get started here.
0 Comments