
In this post, we will be creating a document called an XML sitemap. This in an important document that you submit to search engines when you are ready to launch your blog.
To create the XML sitemap, we will be installing the Yoast SEO plugin. This is a really efficient way to create your sitemap. (You may have already installed the Yoast SEO plugin in a previous tutorial. If so, skip to Step 2).
The Yoast SEO plugin helps you to optimize your site for search engines with the additional function of creating your XML sitemap. This saves you from having to install yet another plugin to do the job. The less plugins the better!
Note: If you’ve installed the Yoast SEO plugin for your search engine optimization (as most bloggers do) and you have installed an additional plugin to create your sitemap, consider deactivating the additional sitemap plugin and using the Yoast SEO sitemap function.

What is an XML Sitemap?
An XML sitemap is a list of all the URL’s on a website that can be accessed by others and is used by search engines to better understand the website.
The search engines “crawl” websites for information. By providing a sitemap, search engines can more efficiently find posts, pages and images – especially on new blogs that have fewer backlinks.
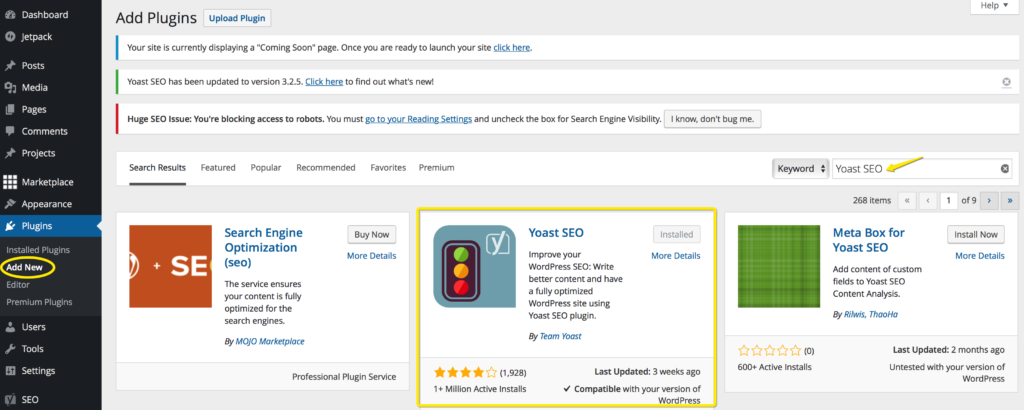
Step 1 – Install the Yoast SEO Plugin
- In your WordPress Dashboard, click on Plugins
- Under Plugins, click on Add New
- Type “Yoast SEO” into the Search bar
- Install the Yoast SEO Plugin by the Yoast Team
- Click on Activate
Set Up the Configuration Wizard
Click on SEO in the dashboard and click on Open the configuration button.
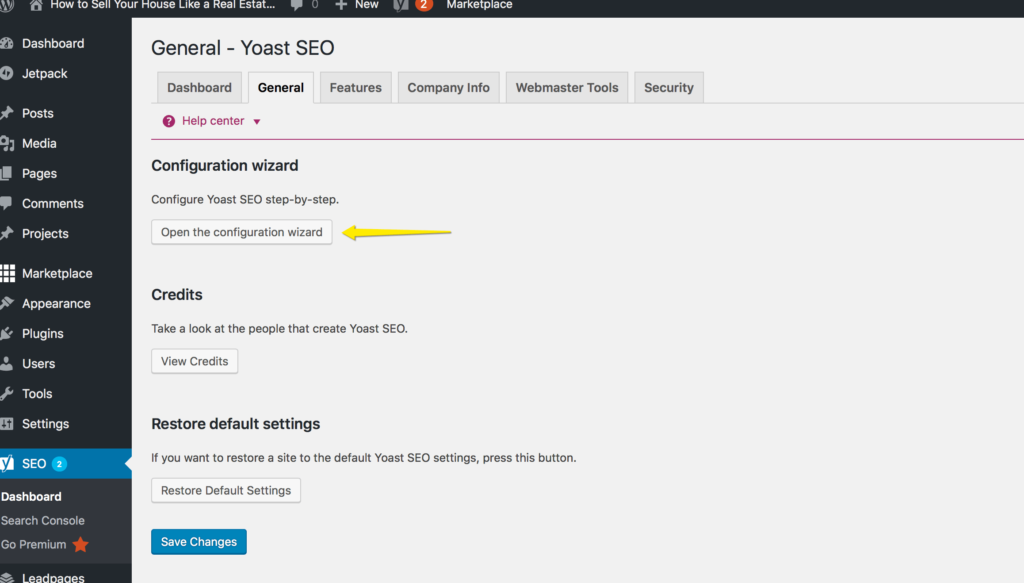
Run through all 10 steps of the configuration wizard.
In step 8, Yoast asks to fetch your Google Console information. If you have not set up your website (property) in Google Console, click on Next and you can return later to complete the configuration. If you have been following these tutorials, you will have already set up Google Analytics, and will be linking the Google Search Console to your Analytics account before launching your website. You can return at any time by reopening the Configuration wizard.
Step 2 – Enable the XML Sitemap in the Yoast SEO Plugin
In your WordPress Dashboard, hover over SEO and a fly out menu should appear.
Select XML Sitemaps.
Make sure the XML Sitemap Functionality is ENABLED.
If you don’t see the XML Sitemap option, click on SEO and then Dashboard. Go to the Features tab and at Advanced settings pages, move the toggle to Enabled.
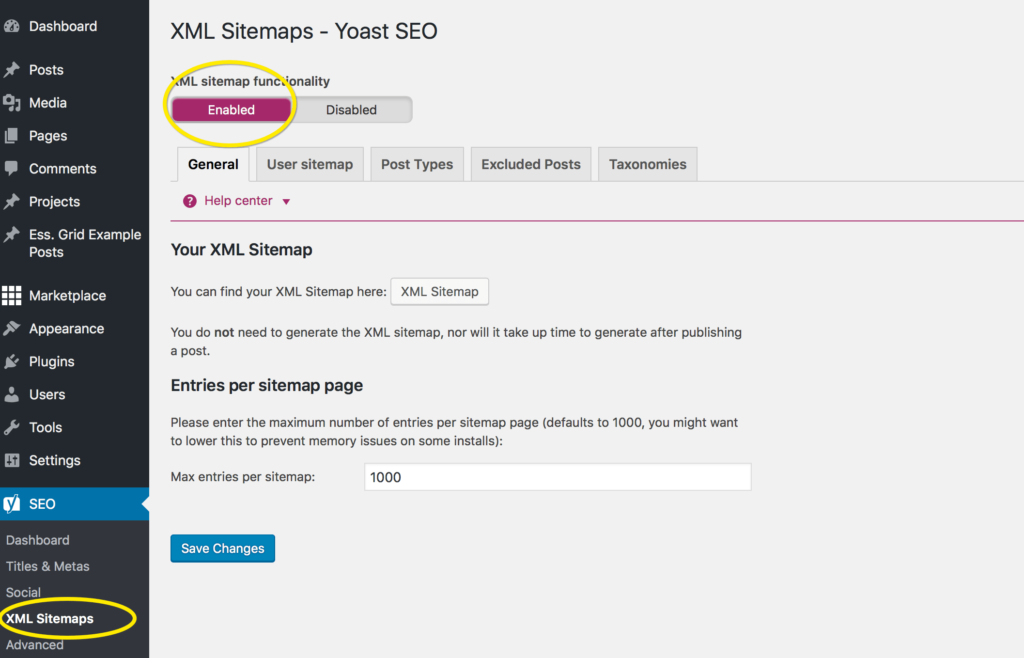
To view your sitemap click on the XML Sitemap button.
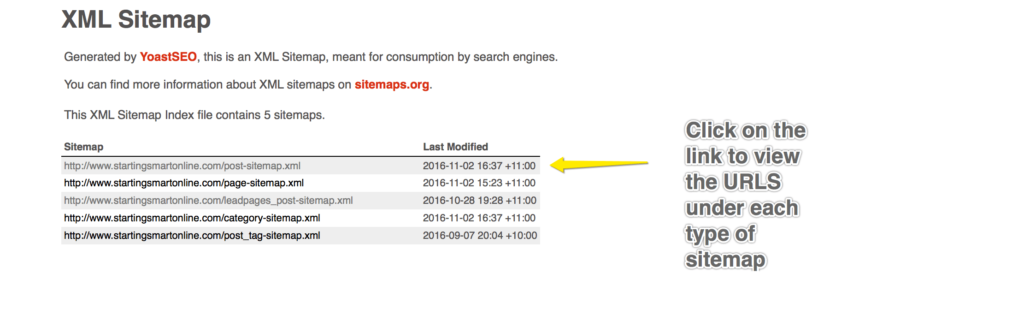
Easy right!
Click here for my tutorial on how to submit your sitemap to Google, Bing and Yahoo!


AUTHOR: SARAH PILATI Hi, I’m Sarah! I’m here to help you create your first WordPress blog. I cover the early stages of your project – getting your website up and running! If you have any doubts you can do it yourself, this website is for you! You can get started here.


0 Comments